01
Start with the machine you already have
Nothing about it changes and you scan exactly as you do now. The only thing you need from it is the socket a second monitor would use, the one marked HDMI.

One phone sits by the ultrasound and sends the picture. The second goes inside the VR glasses she wears. All they need is the clinic's Wi-Fi or a phone hotspot.
The phone by the ultrasound reads the scan and sends it to a second phone inside the glasses. Nothing is installed on the second phone, and the picture travels no further than your Wi-Fi or hotspot.
Nothing about it changes and you scan exactly as you do now. The only thing you need from it is the socket a second monitor would use, the one marked HDMI.
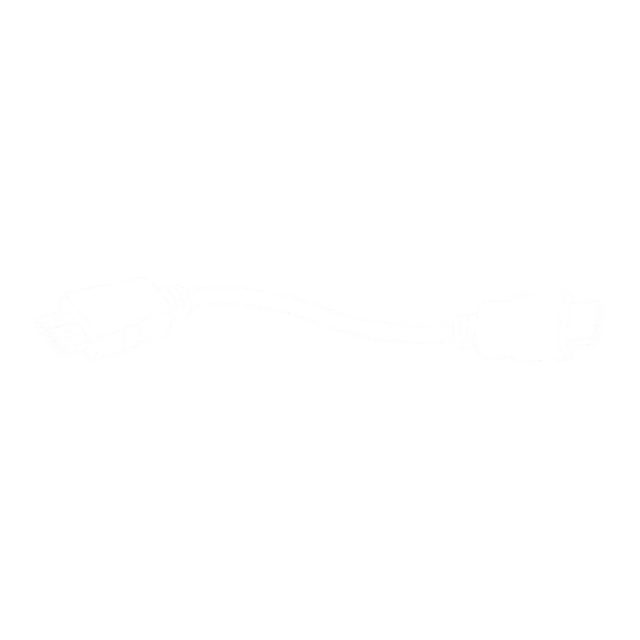
The same cable a television uses. One end goes into that socket; leave the other end free for now.
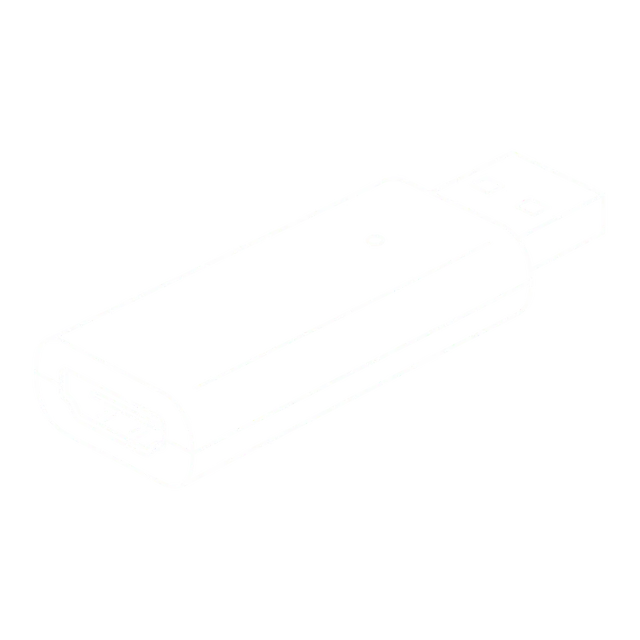
The first of two small parts, about the size of a USB stick. The cable goes into the wide socket at one end; an ordinary USB plug comes out of the other. Its job is to turn the monitor picture into something a phone can read.
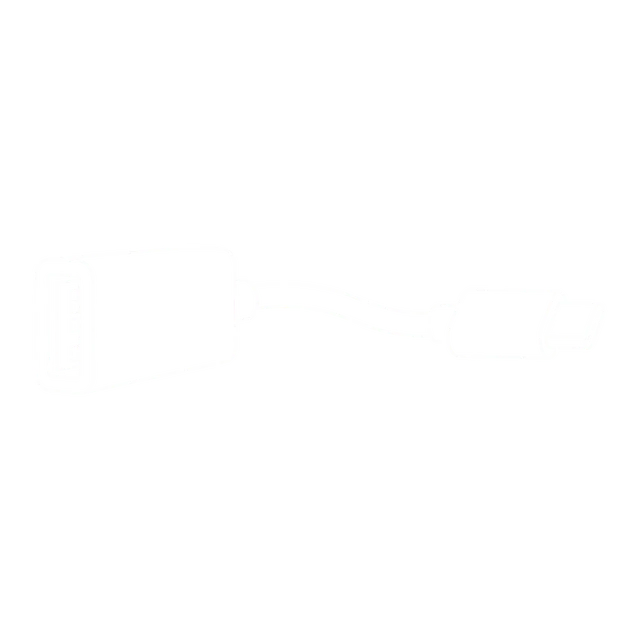
The second small part, and the one most people have never heard of. A phone's charging socket can take a device instead of a charger; this is the adapter that allows it.
That is the whole installation. The scan appears on the phone straight away, and a code appears beside it. Nothing is uploaded anywhere: the picture stays in the room, on your own Wi-Fi, or on the phone's own hotspot if the clinic has none.
Hers or the clinic's. Its camera opens the scan, live. Nothing to install and nothing to type.
The front opens, the phone drops in, the front closes. One lens for each eye.

She puts them on and the scan is all around her, live, while you work exactly as you always have.
The VR kit comes with every plan: the glasses, the capture card and a setup guide. The HDMI cable and the OTG adapter are ordinary parts you may already have.
Leave your name and number. We call you back, answer everything, and tell you honestly whether it suits your clinic.
Or look at the plans first: See the plans